
Affiliate disclosure: This post contains affiliate links. As an Amazon Associate I earn from qualifying purchases, at no extra cost to you. Smooth-On did not sponsor this video or post. We bought the foam with our own money.
How to Fix Pontoon Seat Holes with Smooth-On FlexFoam-iT! X
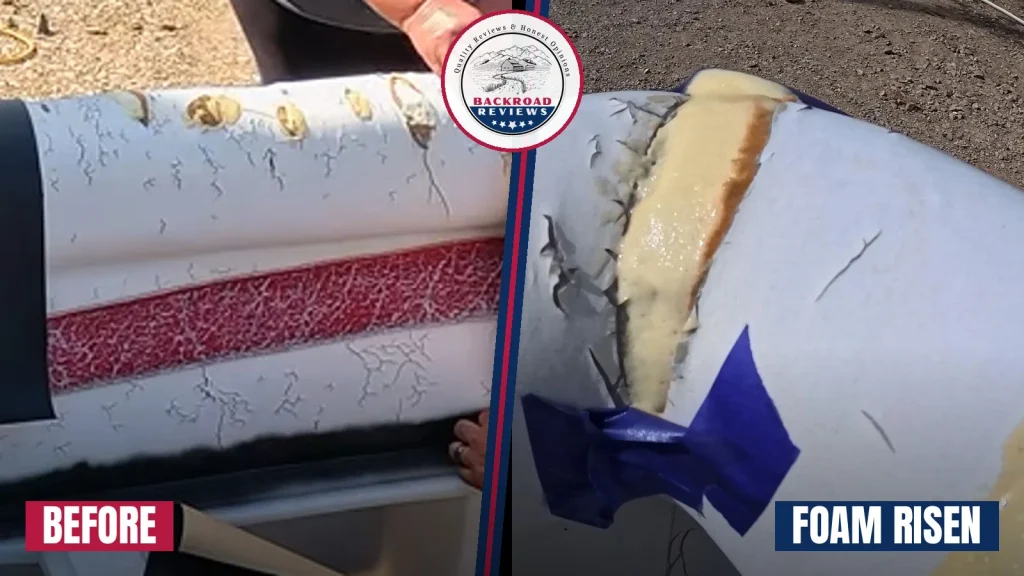
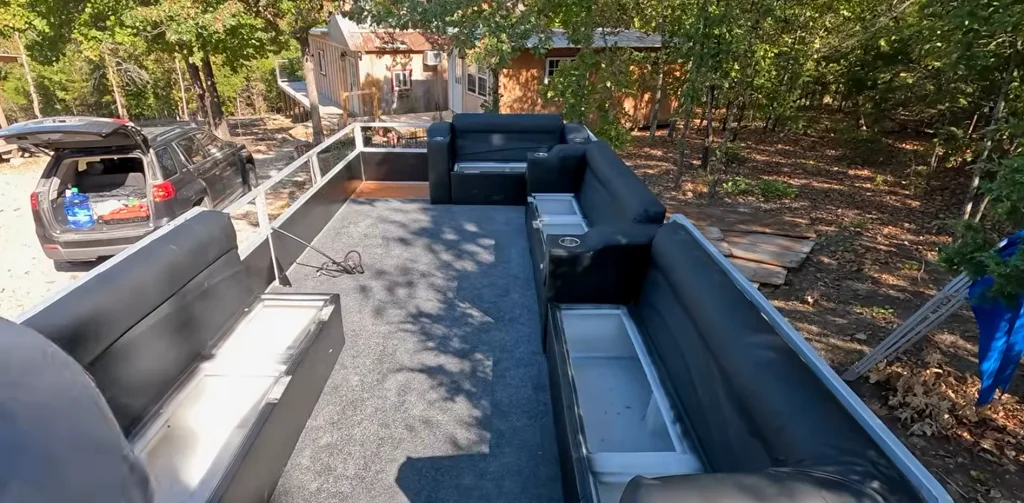
Our friends Jason and Tara of White Rock Homestead picked up a new-to-them pontoon and are redoing nearly everything on it. One big job was the marine fabric on the seats, which had a bunch of holes. We bought a two-part pour foam, filled the holes, and recorded the whole thing so you can see how it goes.
What we used
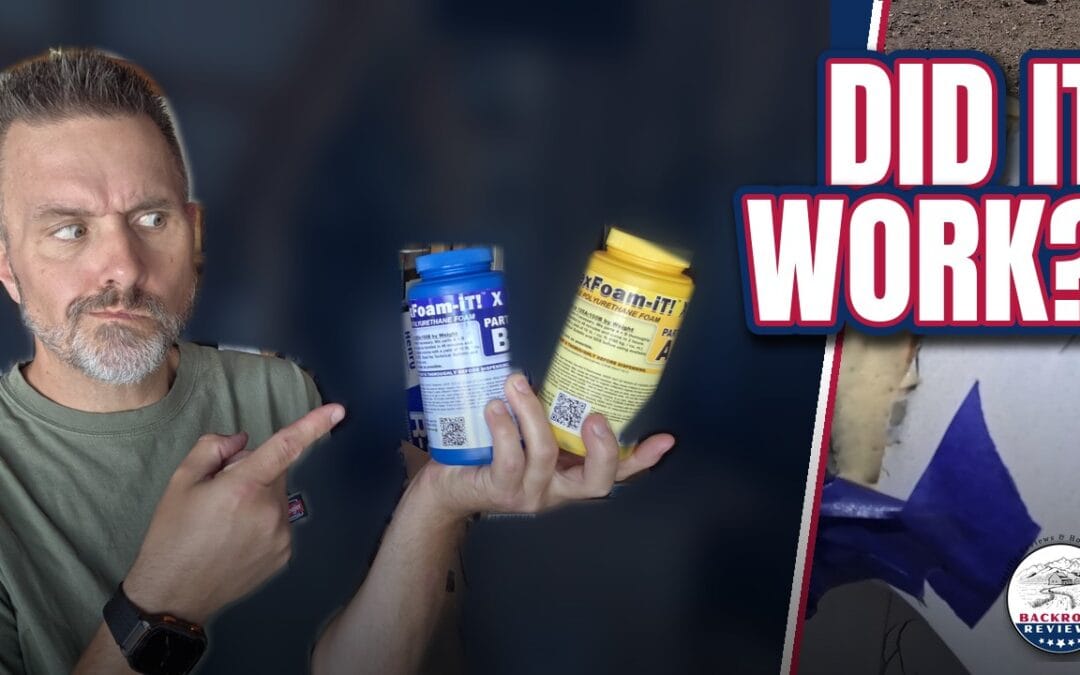
Smooth-On FlexFoam-iT! X is a two-part flexible foam. We used the 10 lb version, which is close to the foam already under the seat fabric. It’s a closed-cell foam, so it doesn’t soak up water and it shrugs off moisture.
Get the pint kit: Smooth-On FlexFoam-iT! X (Pint) on Amazon
As an Amazon Associate I earn from qualifying purchases.
Browse more: Smooth-On’s Amazon store
As an Amazon Associate I earn from qualifying purchases.
You can also order small kits straight from smooth-on.com. Smooth-On sells small sizes of its foams and mold-making materials, which is handy if you’re just trying one project.
Not sponsored: Smooth-On did not pay for this. We bought the foam ourselves. Ryan already uses it to make arrowheads and props for live-action roleplay, so he had some on hand when Jason and Tara needed help.
What you’ll need
- FlexFoam-iT! X, Part A and Part B
- Disposable gloves (more on this below)
- Small mixing cups
- A stir stick
- A small screwdriver to poke a pour spout in the Part A seal
- Rags for wiping up
- A well-ventilated spot
Step by step
1. Plan the pour
You mix equal parts by volume, one part A to one part B. The plan is to overfill the hole a little, then cut the foam back so you can’t tell where the hole was. We worked in small batches, one small cup at a time.
2. Gloves on
Wear gloves. The mixed foam is like syrup and it gets everywhere. Ryan’s tip came from experience: it glues very well, and it doesn’t wash or wear off your skin.
3. Open Part A only when you’re ready
Once Part A is open to air, it starts to harden, so don’t open it until everything else is set up. Shake it well. Then poke a small hole in the seal with a screwdriver to make a pour spout, so as little of it is exposed as possible. Keep rags handy, because something will drip.
4. Measure and mix
Part B is a little more syrupy than Part A. In the video we used tablespoons to measure equal amounts of each. You can add coloring to the foam, but since this was getting covered up, we skipped it. Put the cap back on Part A before you pour Part B.
5. Pour fast
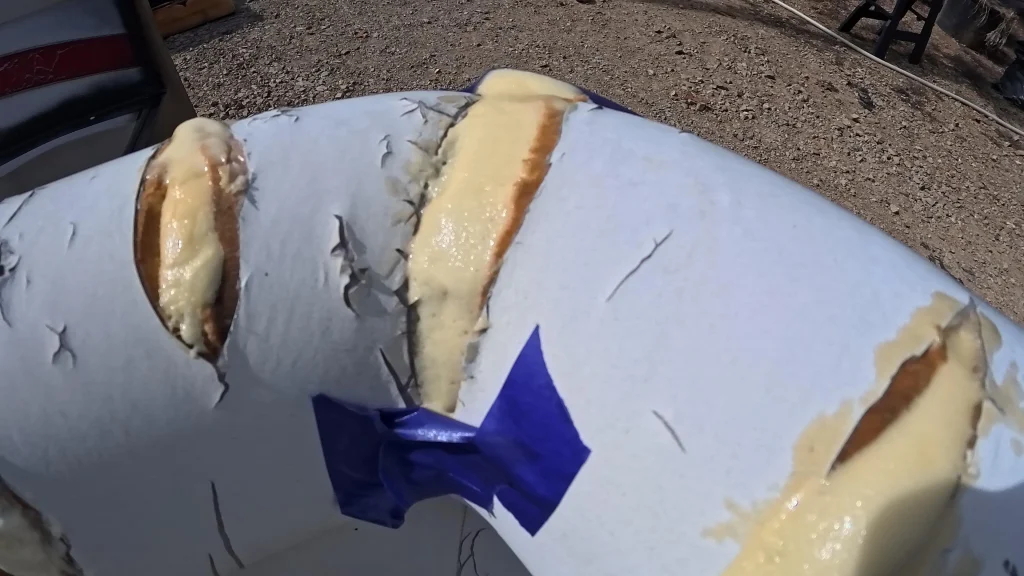
You don’t get much working time. The foam starts to expand quickly, and you can see it start to take on air within seconds. If a hole is tilted, you may need to angle the seat to get the pour where you want it.
6. Let it rise
If the foam doesn’t rise well, it usually means it wasn’t mixed correctly. When Ryan asked if the foam doubles, Ryan’s answer was that the 10 lb foam ends up about twice as thick as when it started. Check Smooth-On’s spec sheet for the manufacturer’s numbers before you plan how much to pour.
7. Cut it back
The plan, as Ryan says in the video, is to let the foam overfill and then cut it back flush. Plan on trimming once it has cured.
Safety and tips
- Ventilate. It doesn’t smell strongly or off-gas heavily, but don’t use it in a confined space. Urethanes and silicones generally call for ventilation.
- Small batches. We poured small batches at a time.
- Keep Part A off the threads. Part A on the bottle threads will seal the cap shut for good.
- Read the manufacturer’s instructions and safety data on Smooth-On’s site before you start.
Wrap-up
For filling holes in pontoon seat foam, a two-part pour foam is simple and cheap to try. If you have a project you think it might work for, tell us in the comments on the video.
Thanks to Jason and Tara at White Rock Homestead for letting us work on their pontoon.
Ryan, Backroad Reviews